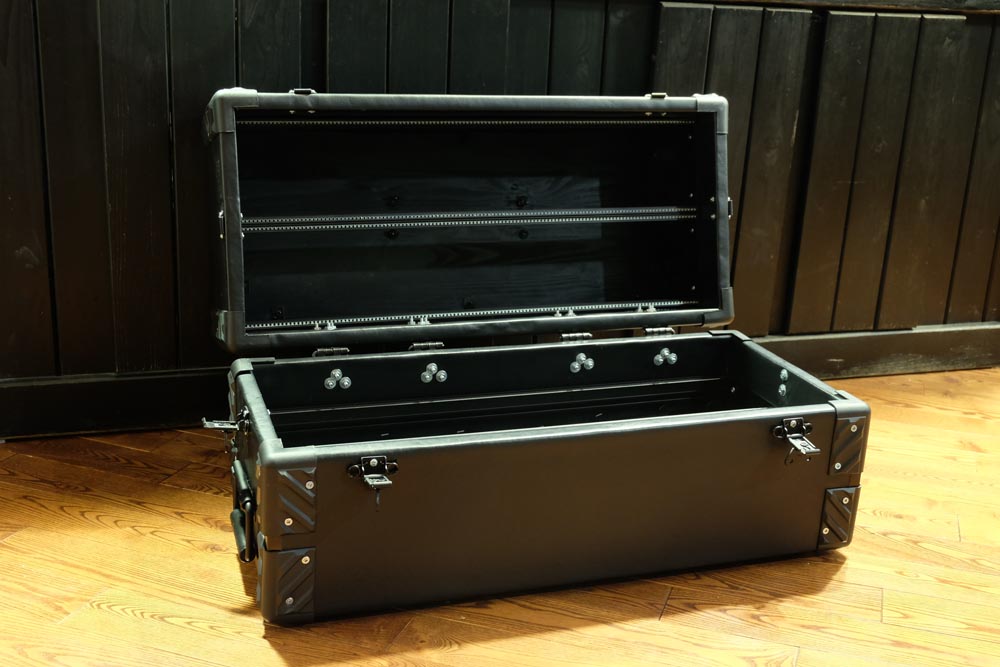
DIY 126hp 12U custom eurorack synth flight case
How to build a diy modular eurorack synth wooden case
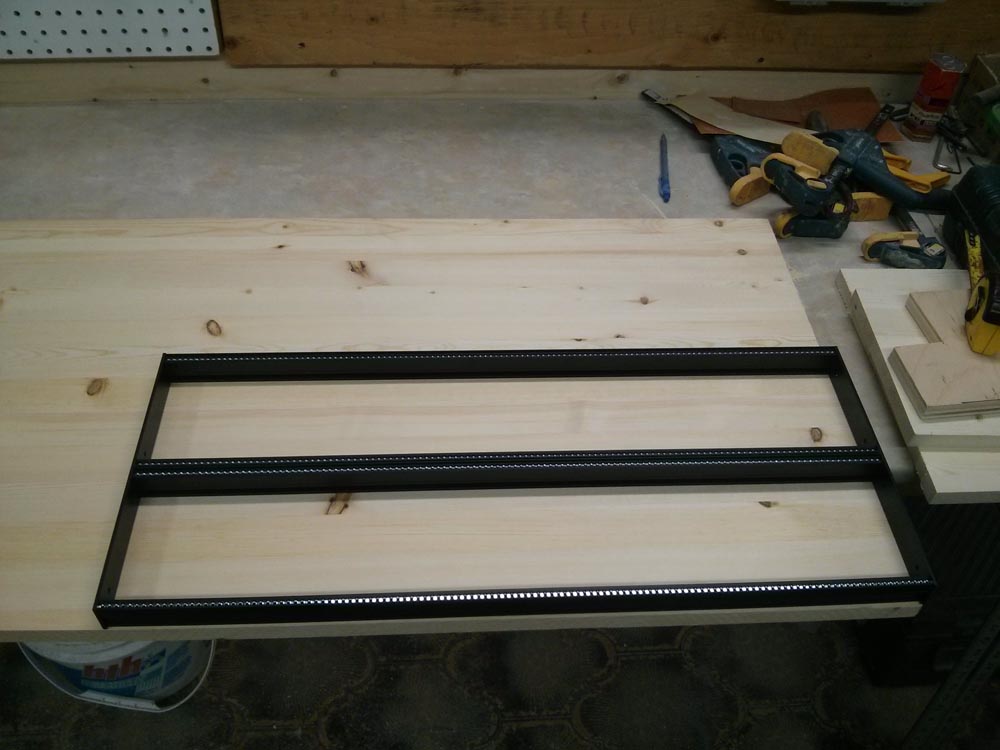
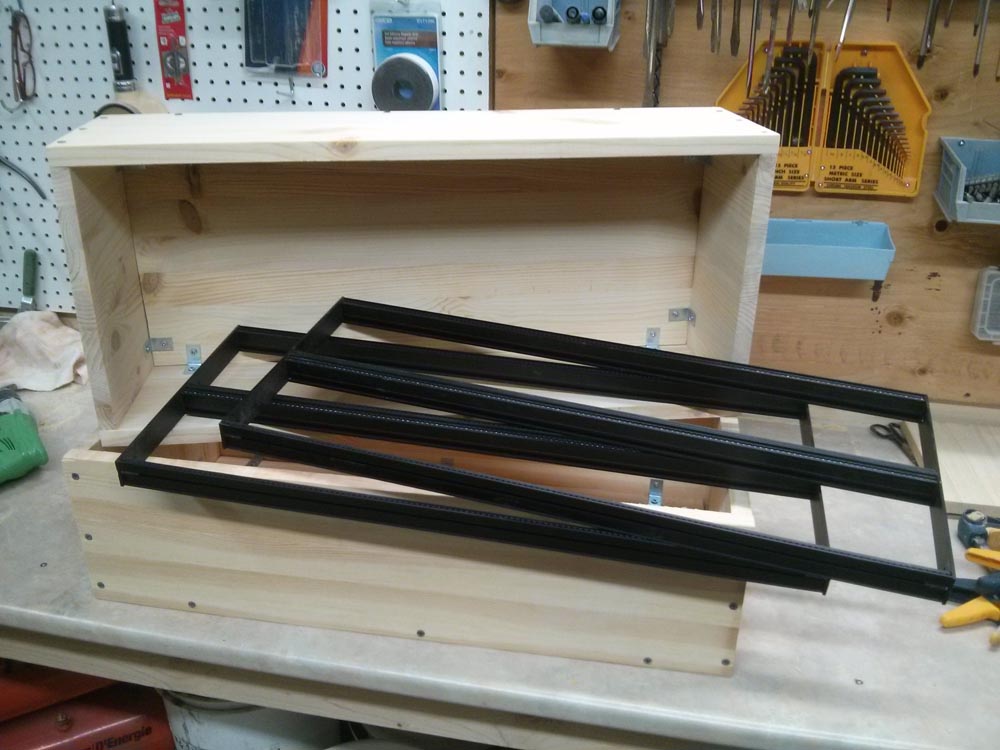
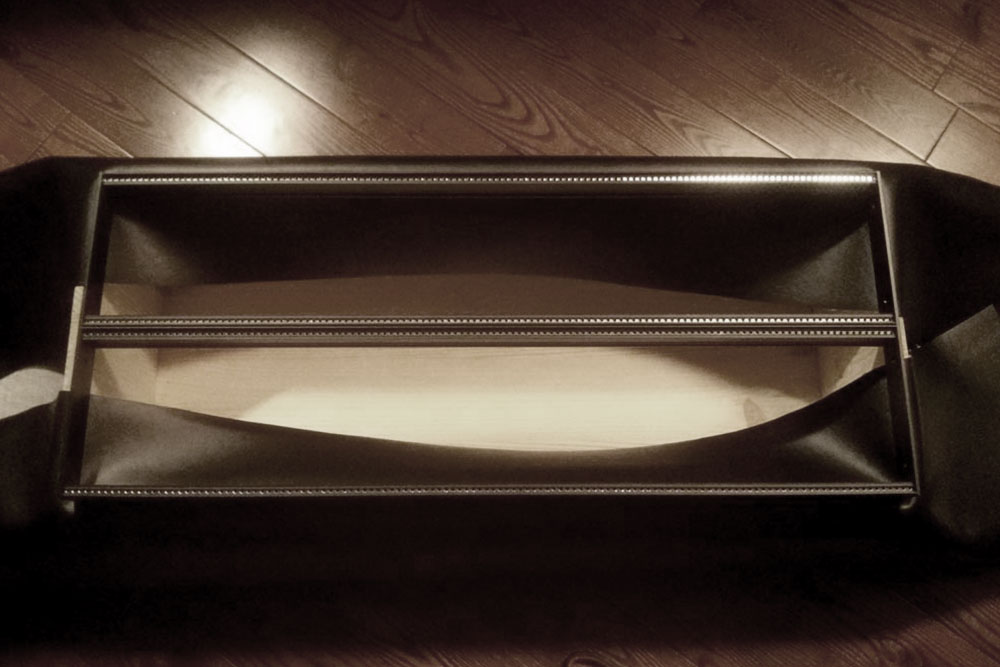
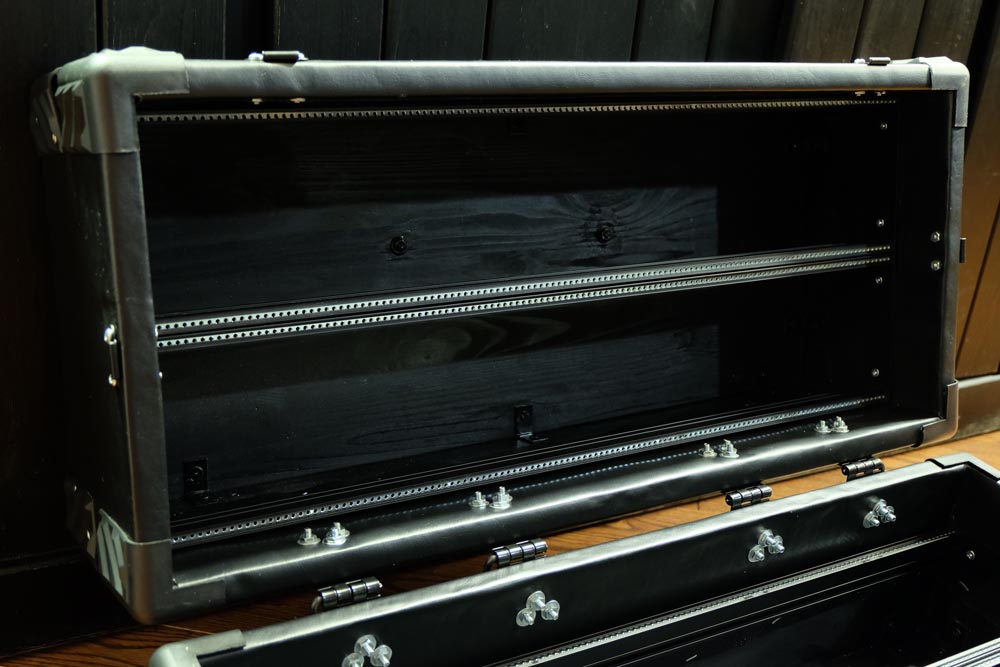
I will not go into exact measurements because it really depends on your rails. This is 12u and 126hp ClicksClocks black rails, and i must say they are really good quality. They answered all my questions and i would recommend them to anyone. Almost everything else is from a electronic supplies store here where i live and online. There is Reliable Hardware that sells most of theses parts, they also made a series of video tutorials that can help a lot on this project.
Cutting the wood
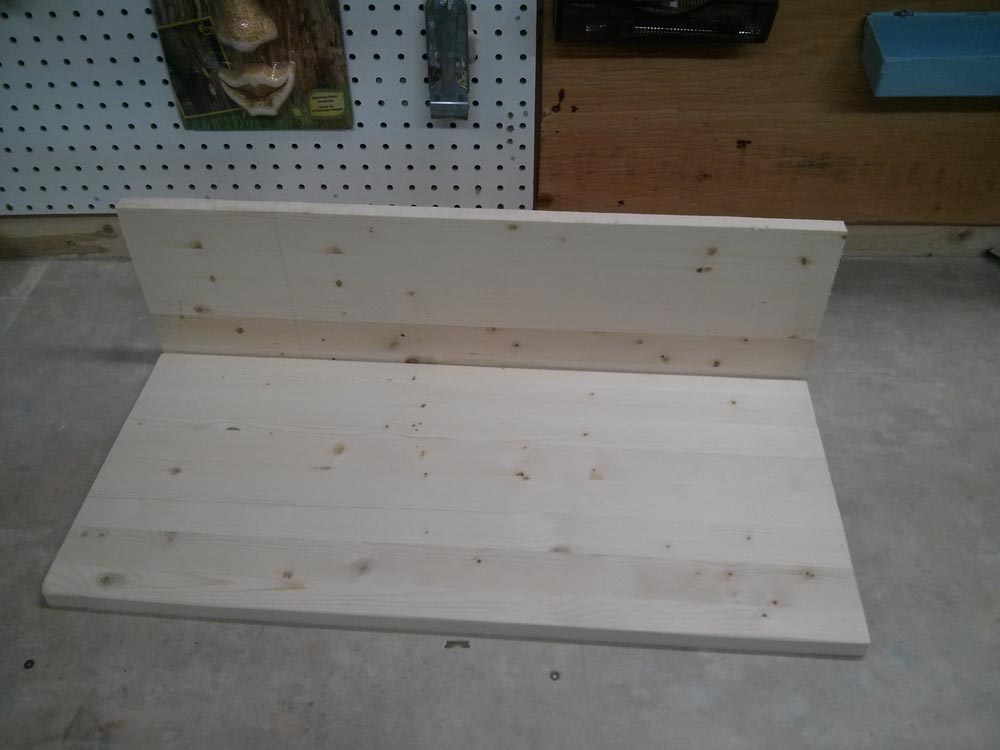
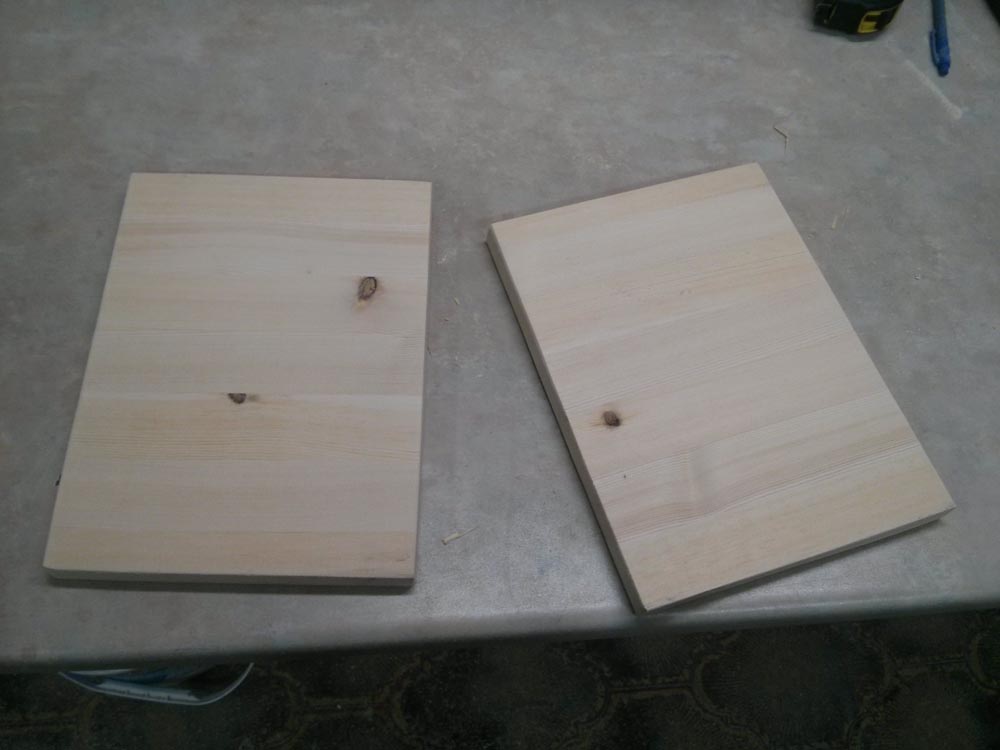
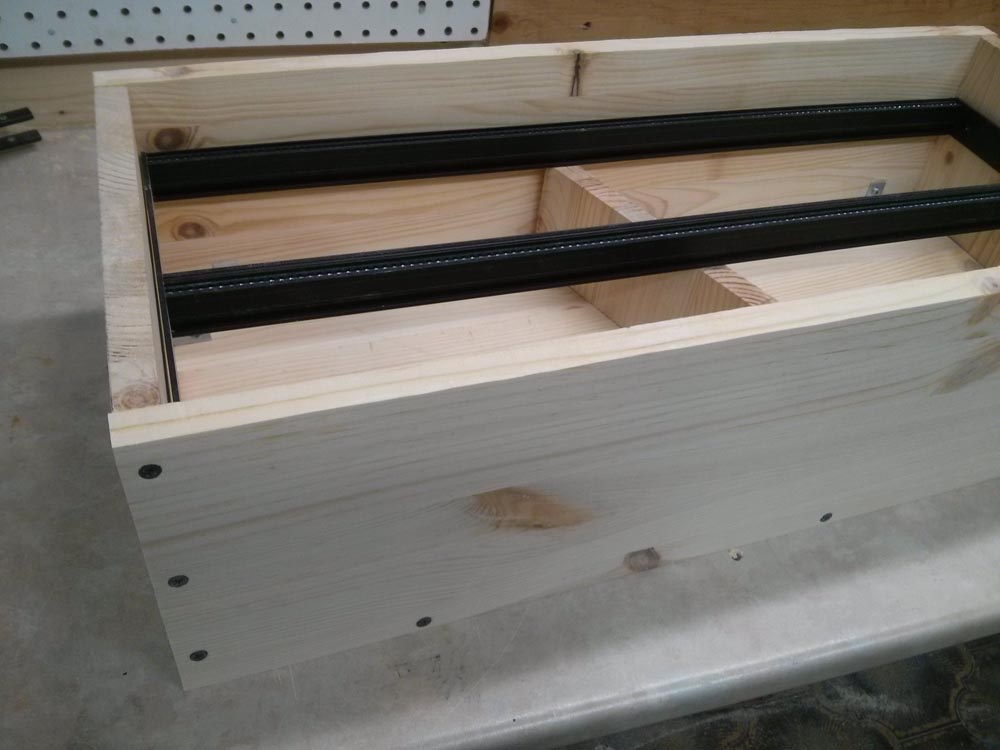
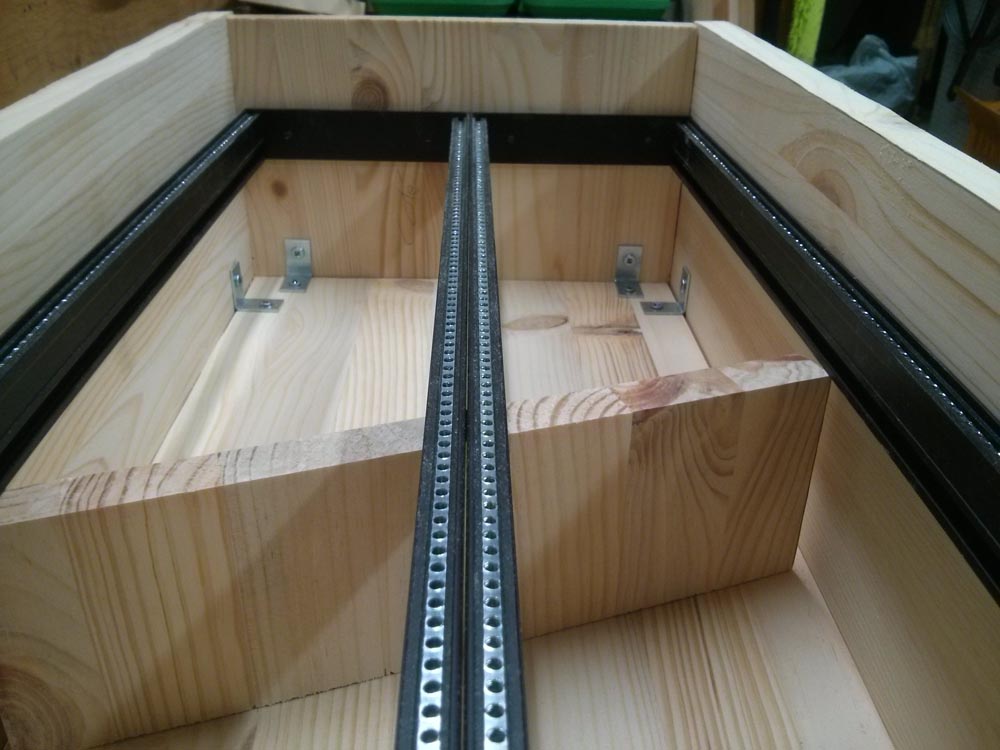
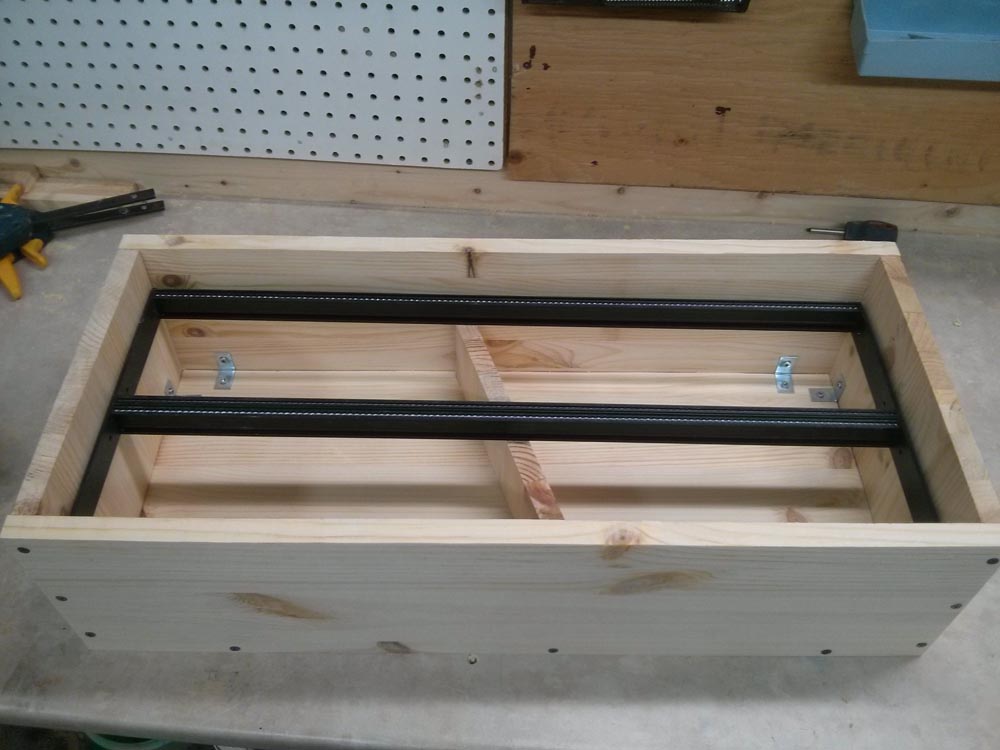
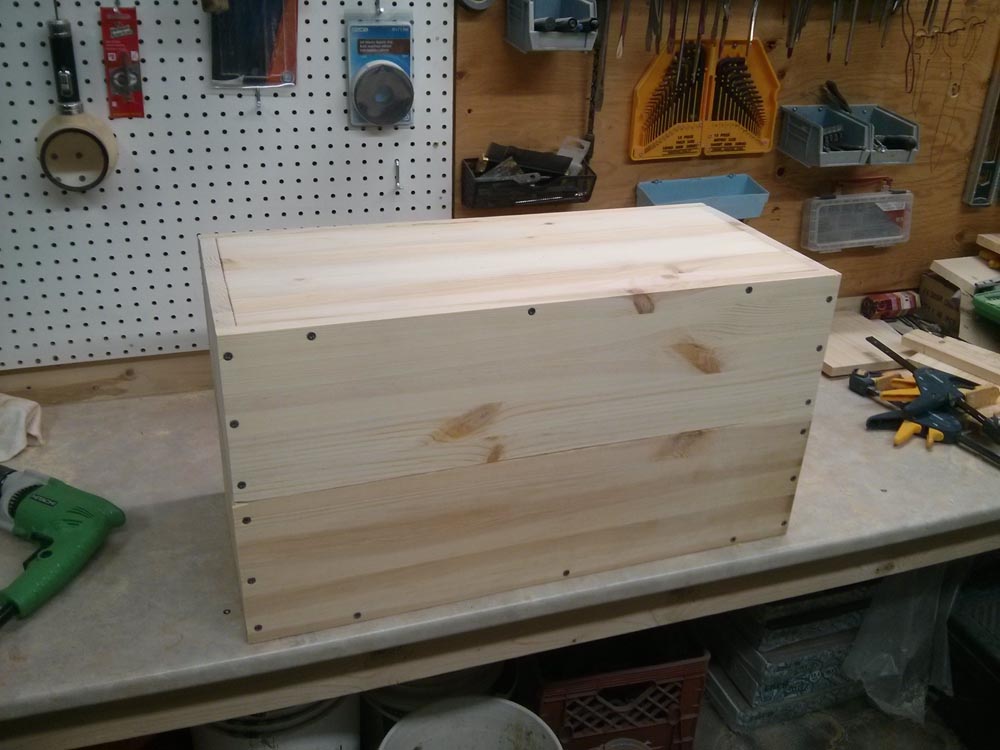
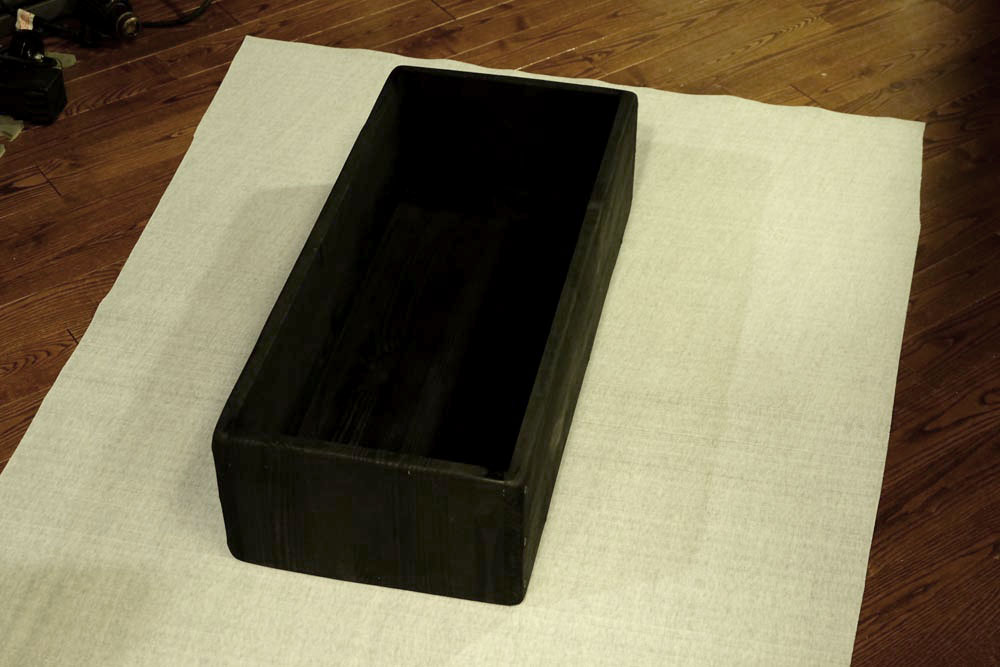
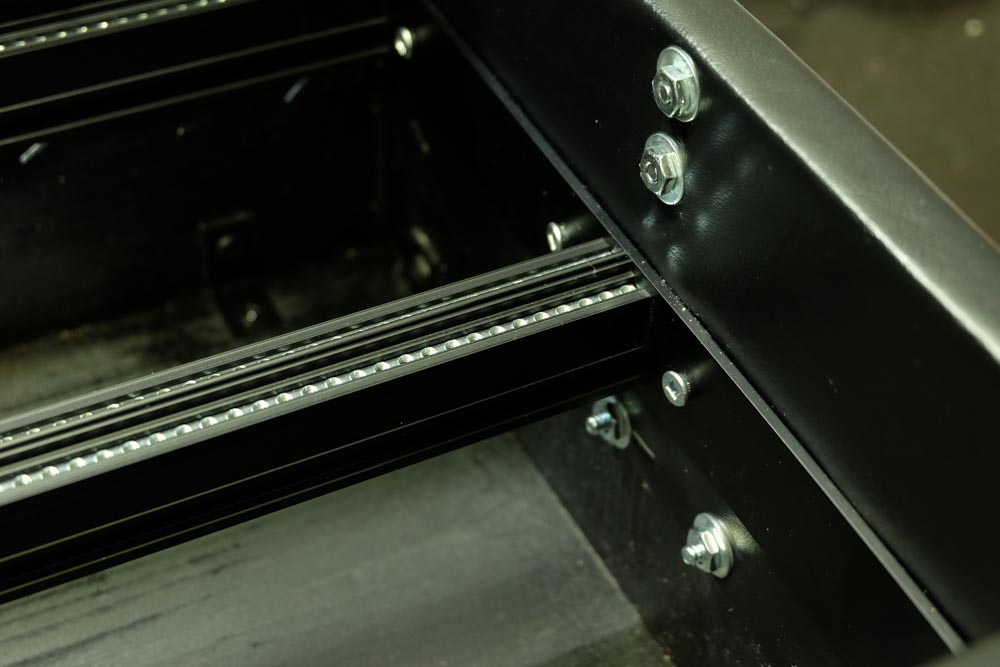
This is the hardest part because if it’s 1mm too small, rails won’t fit, and if it’s too large, they will float so i waited to get the rails to cut the wood exactly at the same dimensions but with 1mm more space each sides so that the rails are not damaging the inner case when placing them inside I added some washers/spacers later between rails and the wood when screwing them. I’m sure there’s better techniques out there if you want to really make it fit on the rails without washers but this requires a lot of precision and tools.
As you can see i cutted it to make it about 7 inch deep, i think 5 inch is safe but i opted for a bit more just in case…
Fixing parts togheder
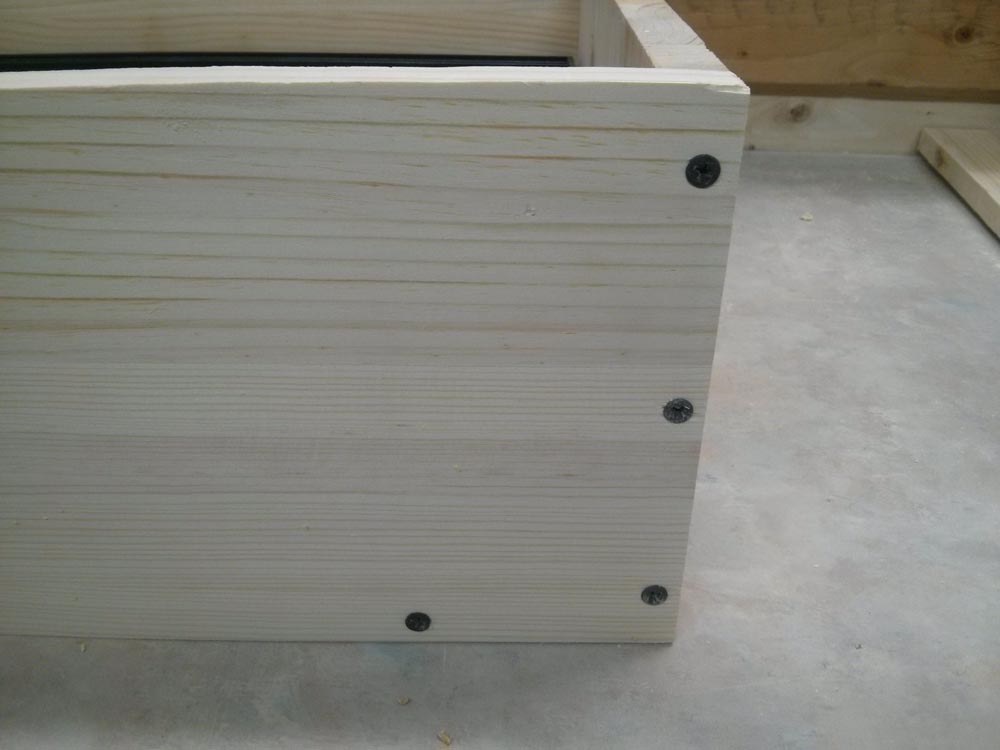
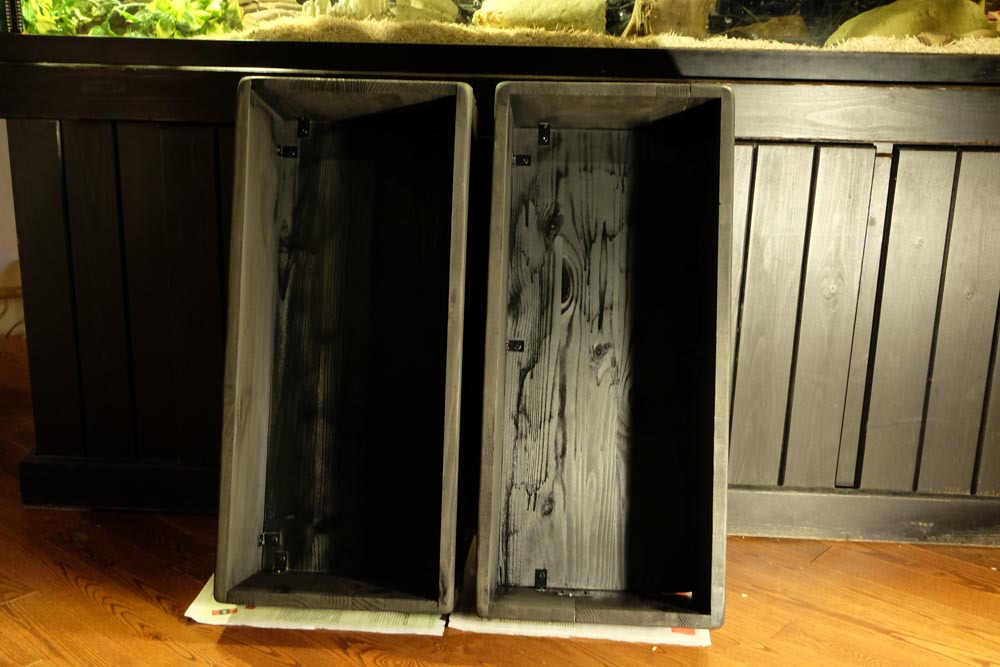
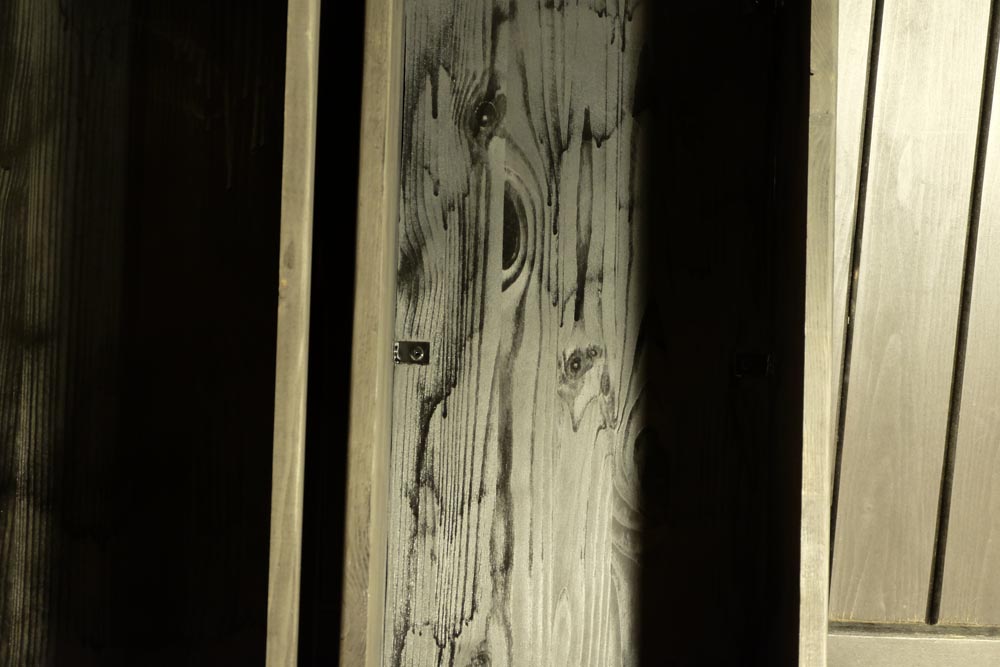
Because pine is dense wood, we need to drill holes before… Theses screws totaly made it more solid and you can align all parts togheder while doing it, making all sides join each side perfectly. 90 degrees angles you see on the pictures were only used to get all sides at their place temporary, theses 90 degrees are not solid at all but i keeped them anyway and painted them black.
Making sure everything will close nicely.
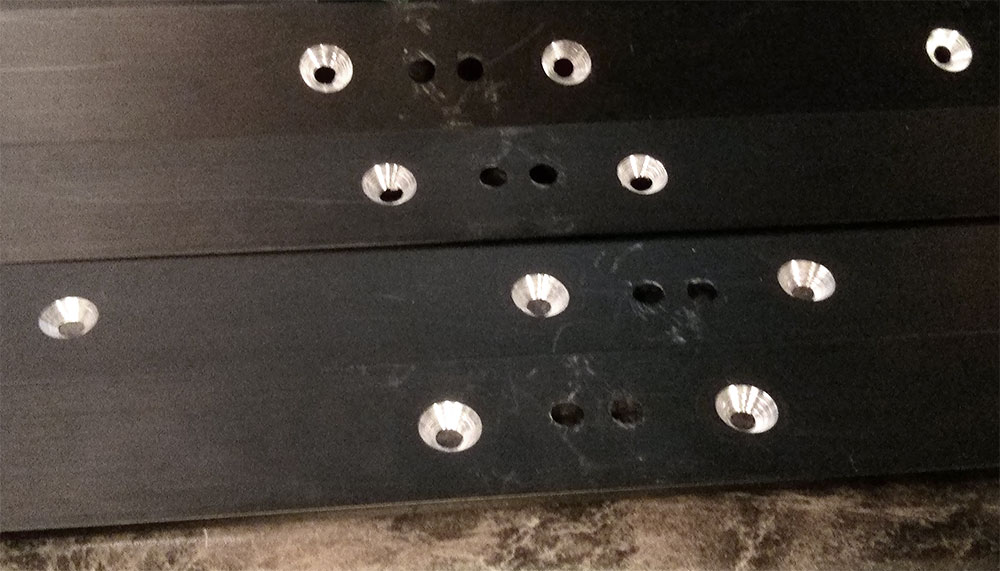
Making the counter sink
You will have to do counter sink on clicks clocks rails because it’s manual work and it’s not already made for you, if not … your modules will not fit because of the screw head that takes space. Theses are usualy found at hardware stores or online.
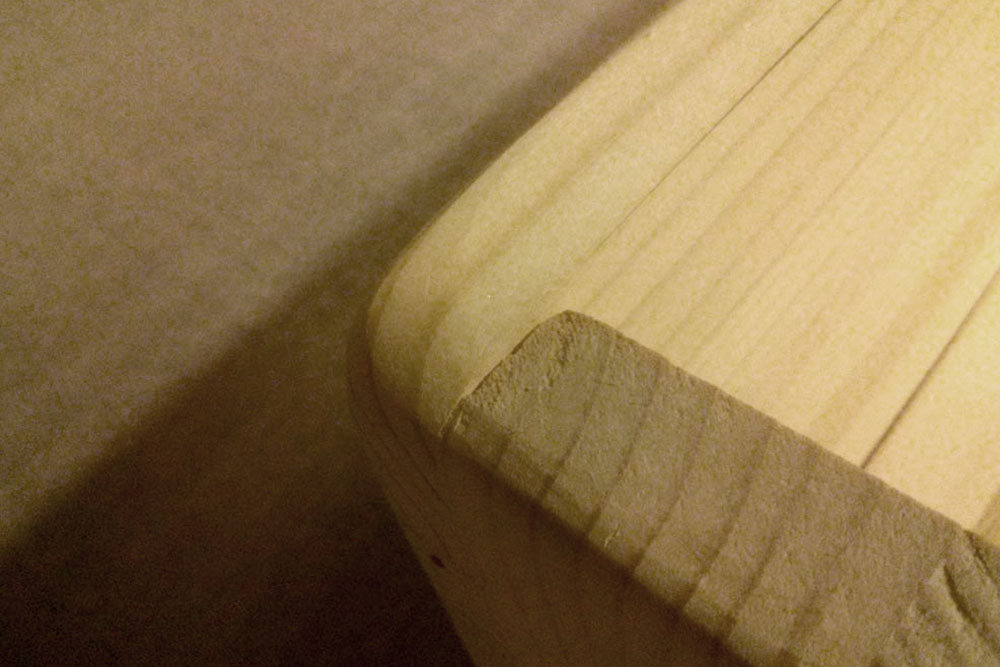
Making round corners with a sand machine
Use big grain for this and small grain to finish it. Theses will help a lot to fix the corners later.
Wrapping it with tolex or vinyl.
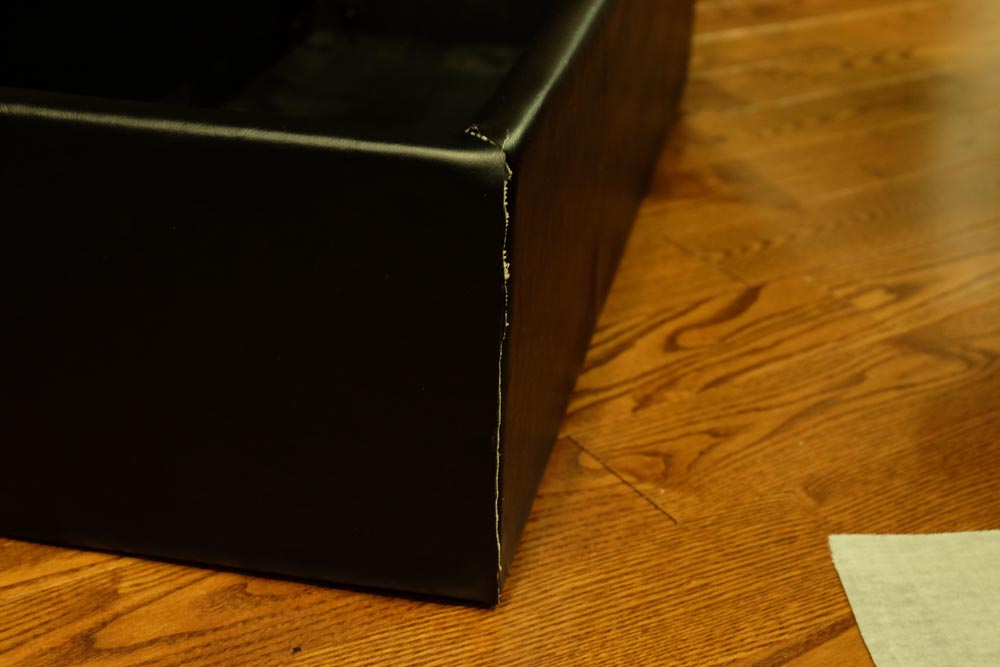
I choosed vinyl because i had some at a store here, but you can easily find real tolex or similar online. Clean and find a place where you can easily have enough space to spread tolex and really tighten it to the wood. I used wood glue and a big stapler to fix it while stretching each side one after another. Make sure you don’t have spots of glue, it will show up later when it dries.
Painting
I think i like black… enough said.
Cutting the edges
This is a bit tricky the first time… look at this Reliable Hardware video, he gives nice tips on a similar case on how to cut theses easily. Simply said, you just have to cut it straith and use the 90 degree inside the corner to cut the angle at the top. Just take a small piece of tolex to try on it first and you’ll get it.
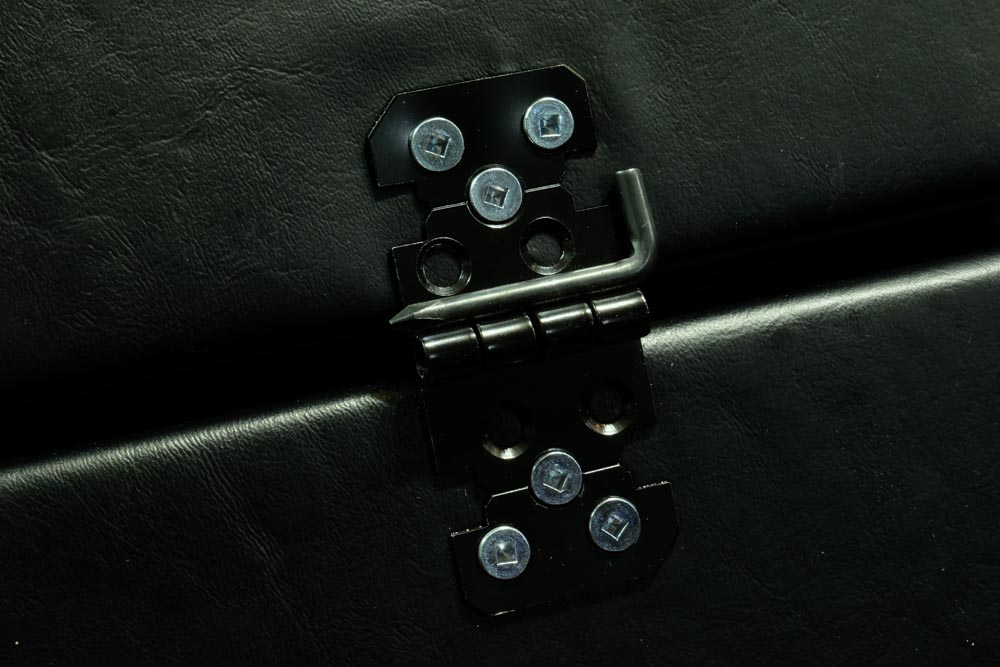
Fixing the hinges
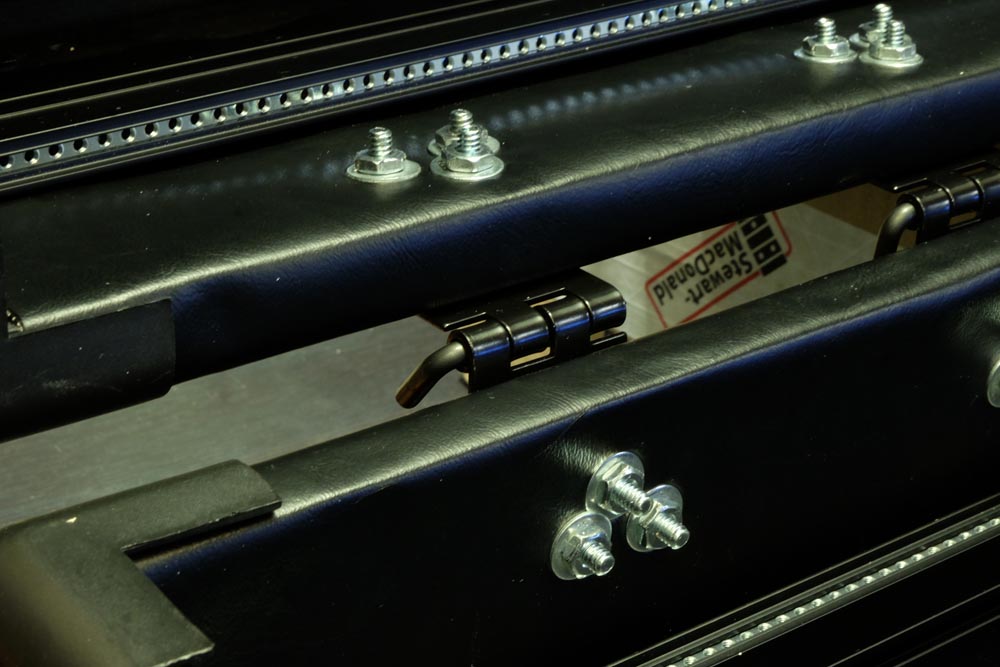
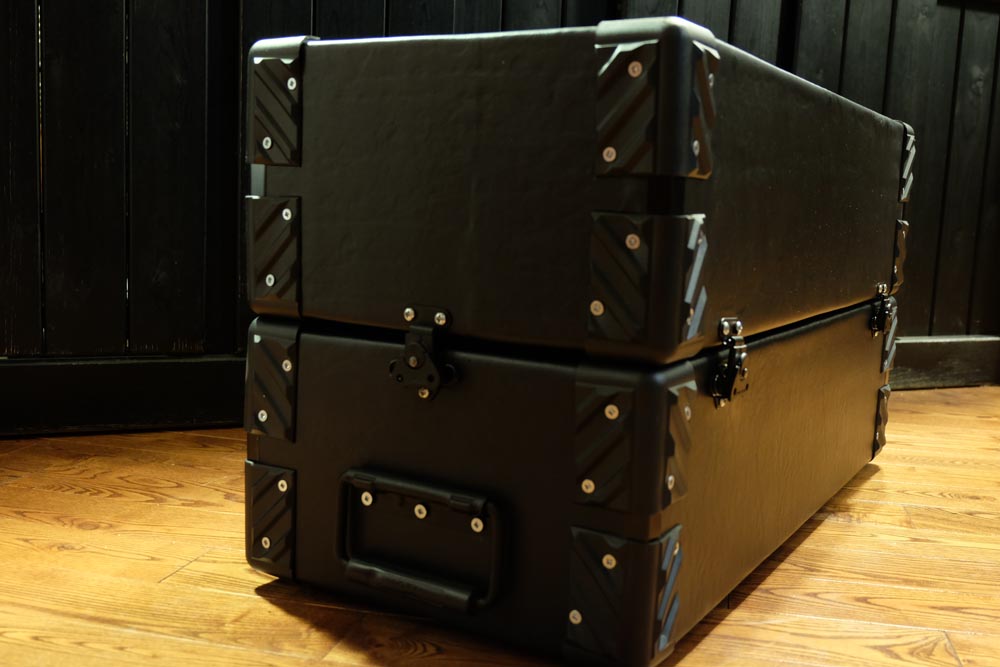
I used Rosco removable loose pin hinges because it will allow me to remove a side and mount it one on another instead of flight case format, or if you want to play with a friend it’s easier.
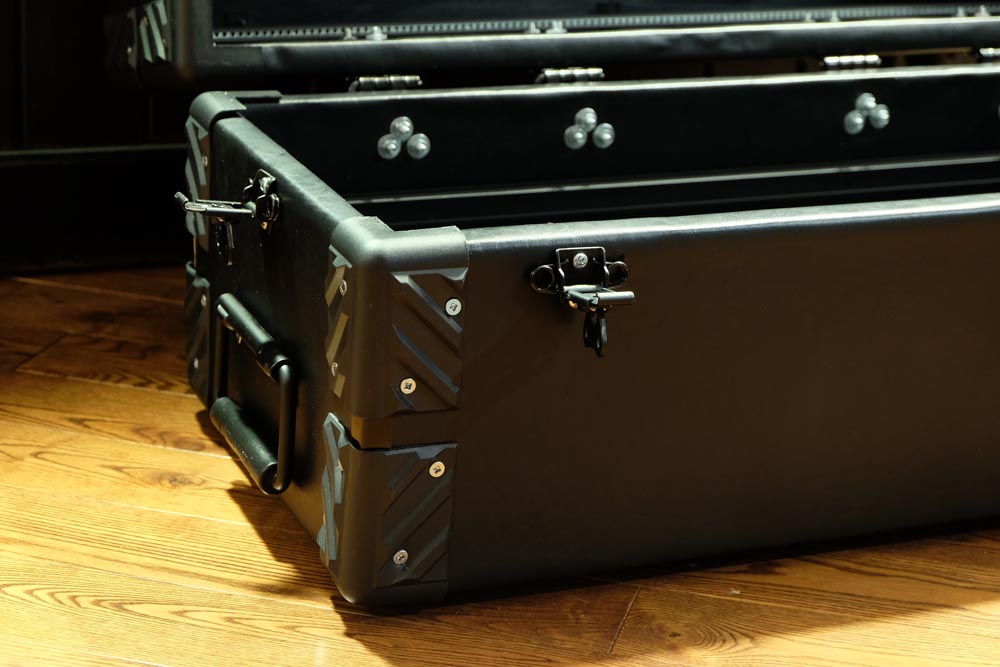
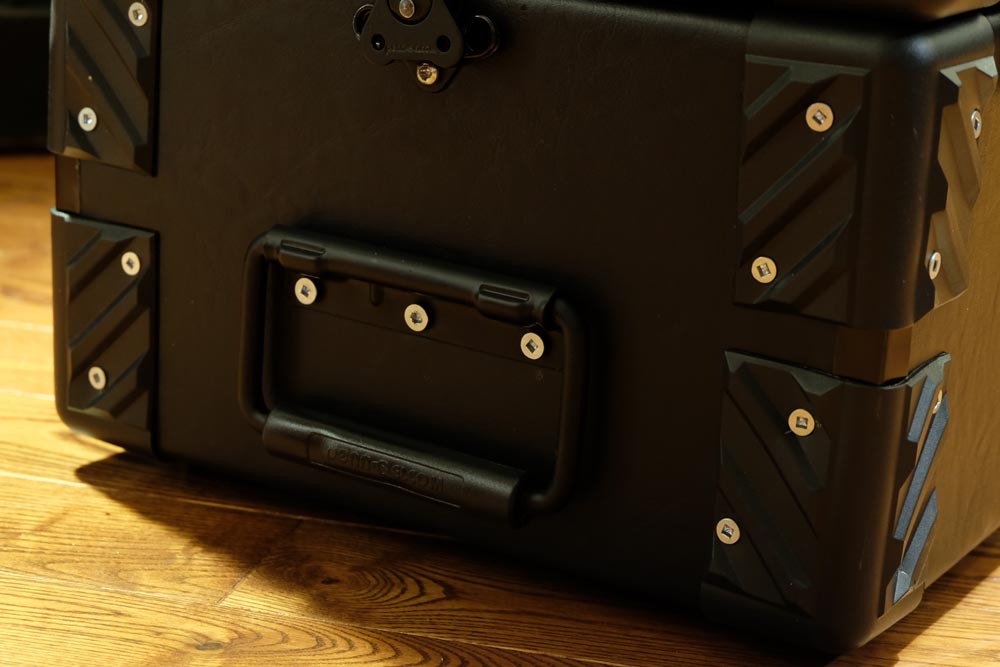
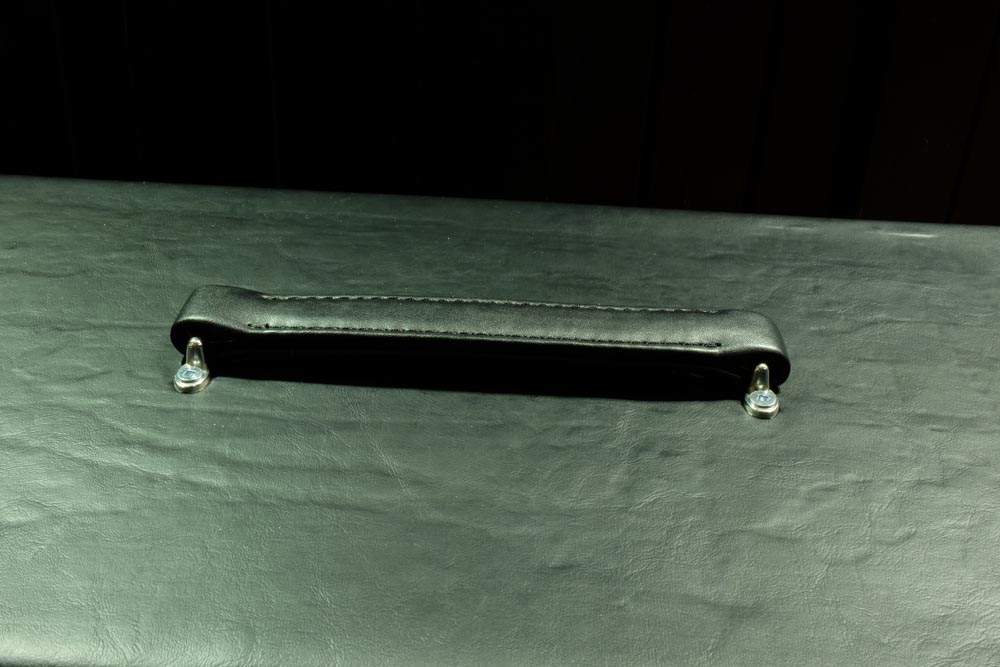
Clamps and handles
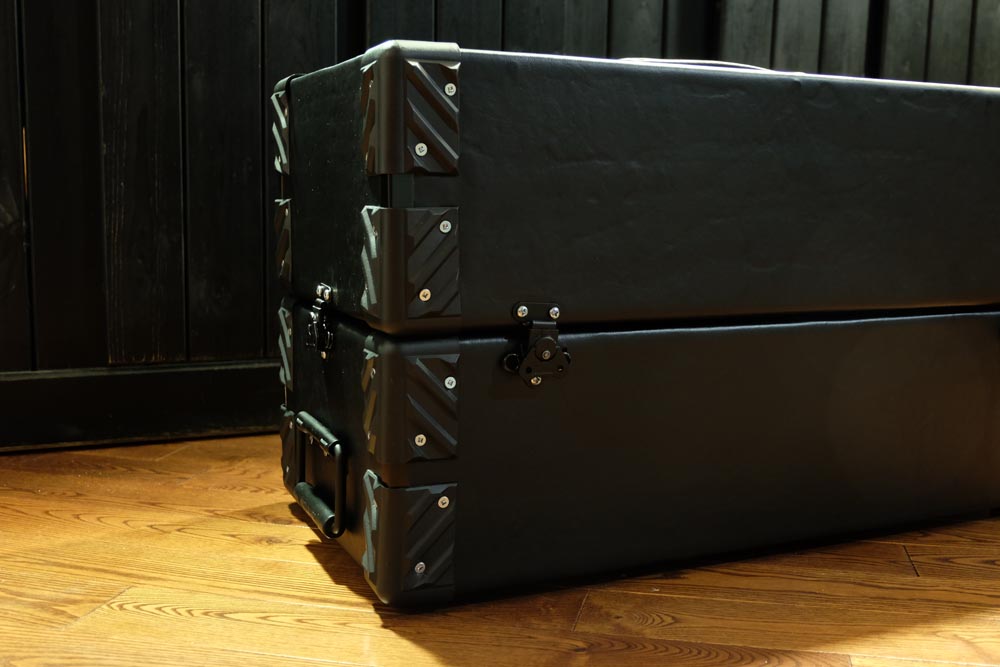
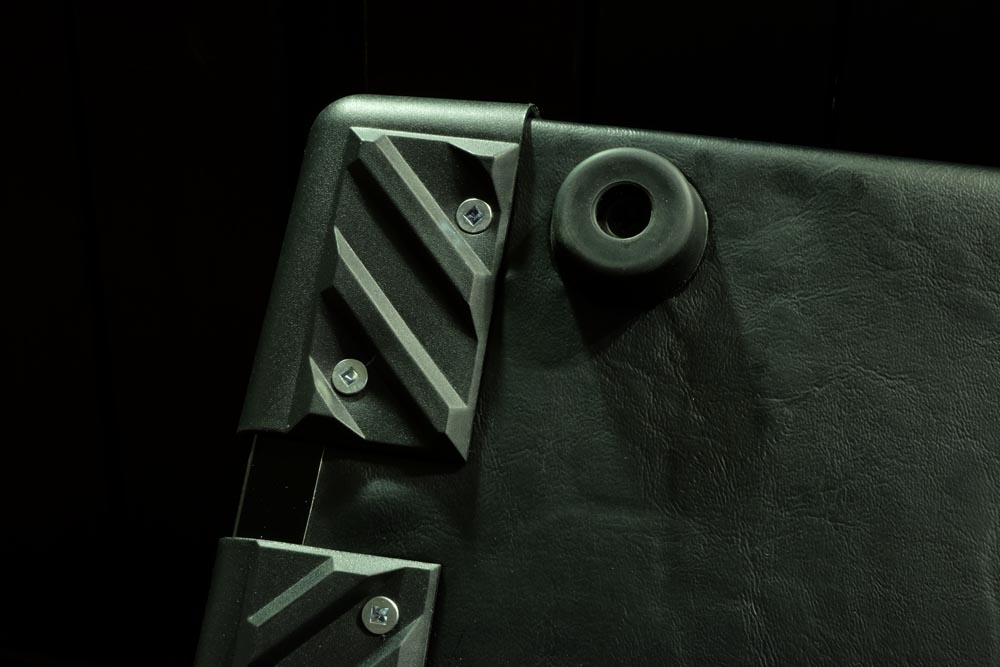
Fixing the plastic corners
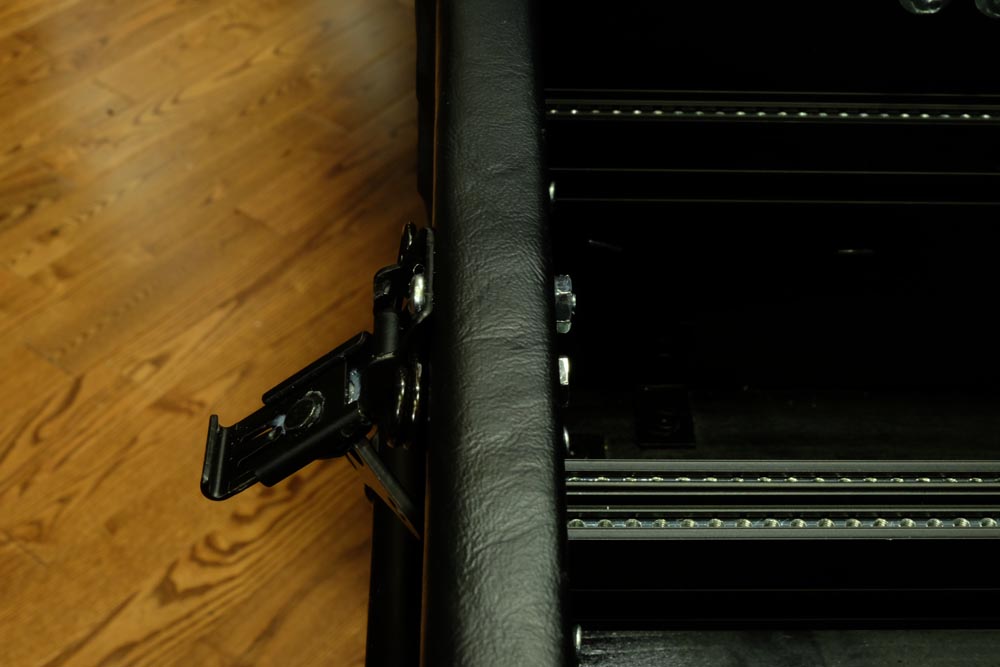
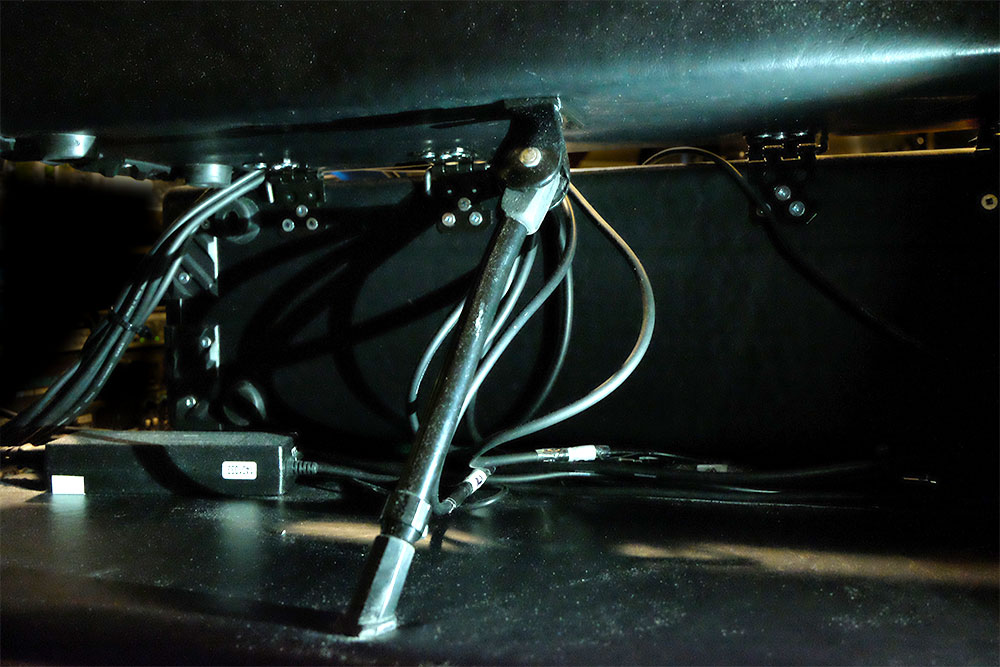
A stand for the upper side
Well i should say a bike stand ! What ever works for you ! I used my old bike stand, it’s adjustable and it works really well.
…….And it’s done !
Power Supply
Adding a power supply, a buss board and some modules where the real fun begins !
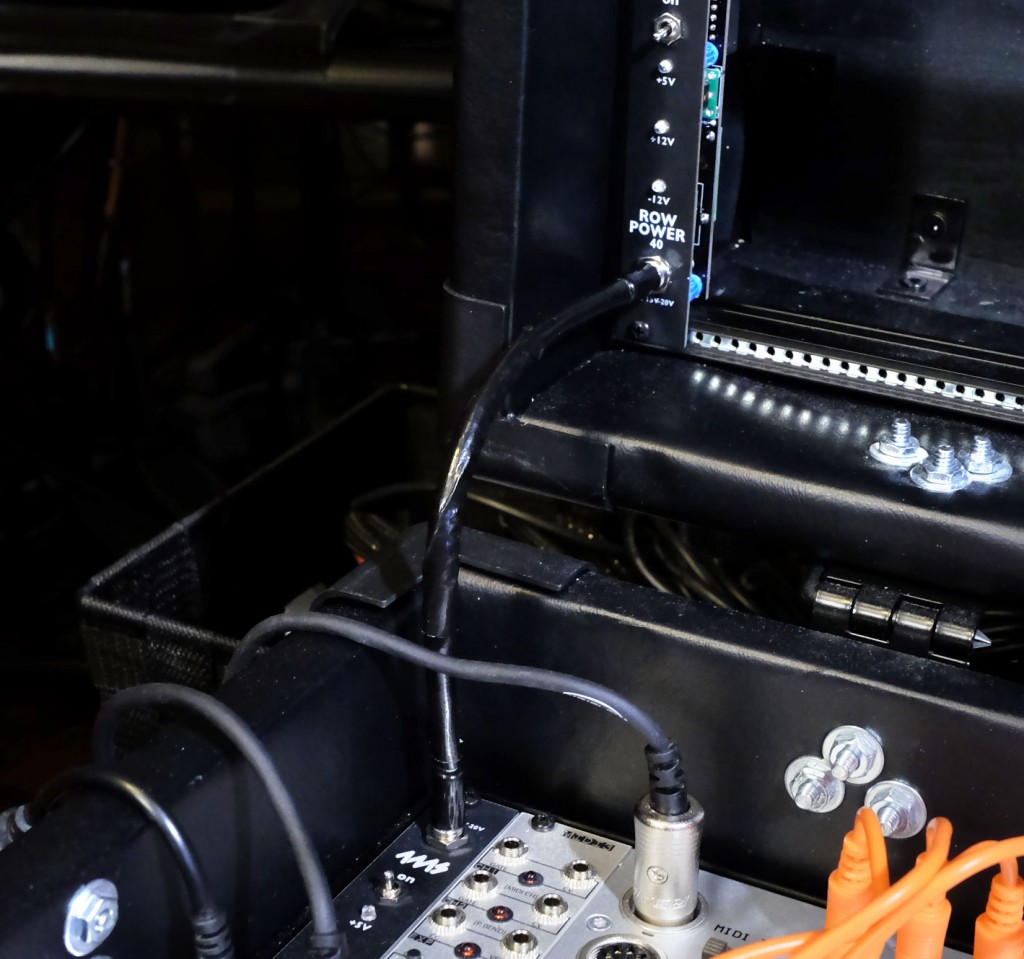
Chaining power supply
Theses 4ms power supplies are really small and easy to install, dc brick with the module, some passive bussboard or flying cables and your’re done !
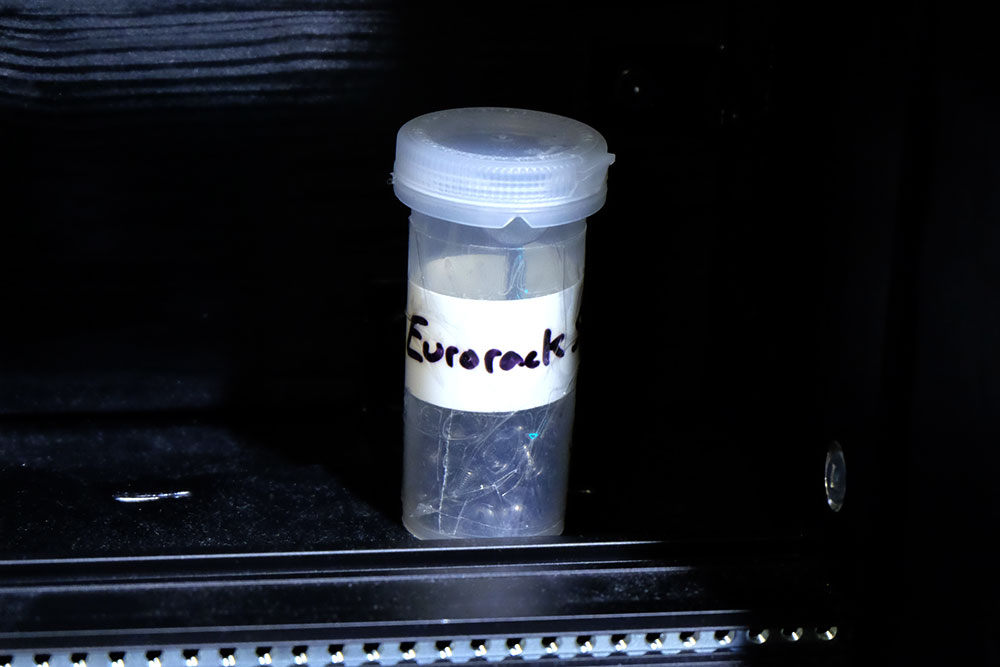
Lastly, just because.. reasons.. yeah.
Using theses pills container is really handy.

